User Settings
Purpose
Use User Settings to create, edit, and remove user accounts for your organization.
User accounts control access and allow role-based permissions and language preferences.
Steps (add a user)
- Open Settings > User Settings.
- Select Add user.
- Fill in the required fields:
- name and surname
- user role
- password and confirmation
- language preference
- Select Save.
Steps (edit a user)
- Open Settings > User Settings.
- Select a user from the list.
- Update the allowed fields (depends on your permissions), such as:
- name/surname
- user role
- password
- language preference
- Select Save.
Steps (delete a user)
- Open Settings > User Settings.
- Select the user.
- Select Delete (trash icon).
- Confirm the deletion.
What users see
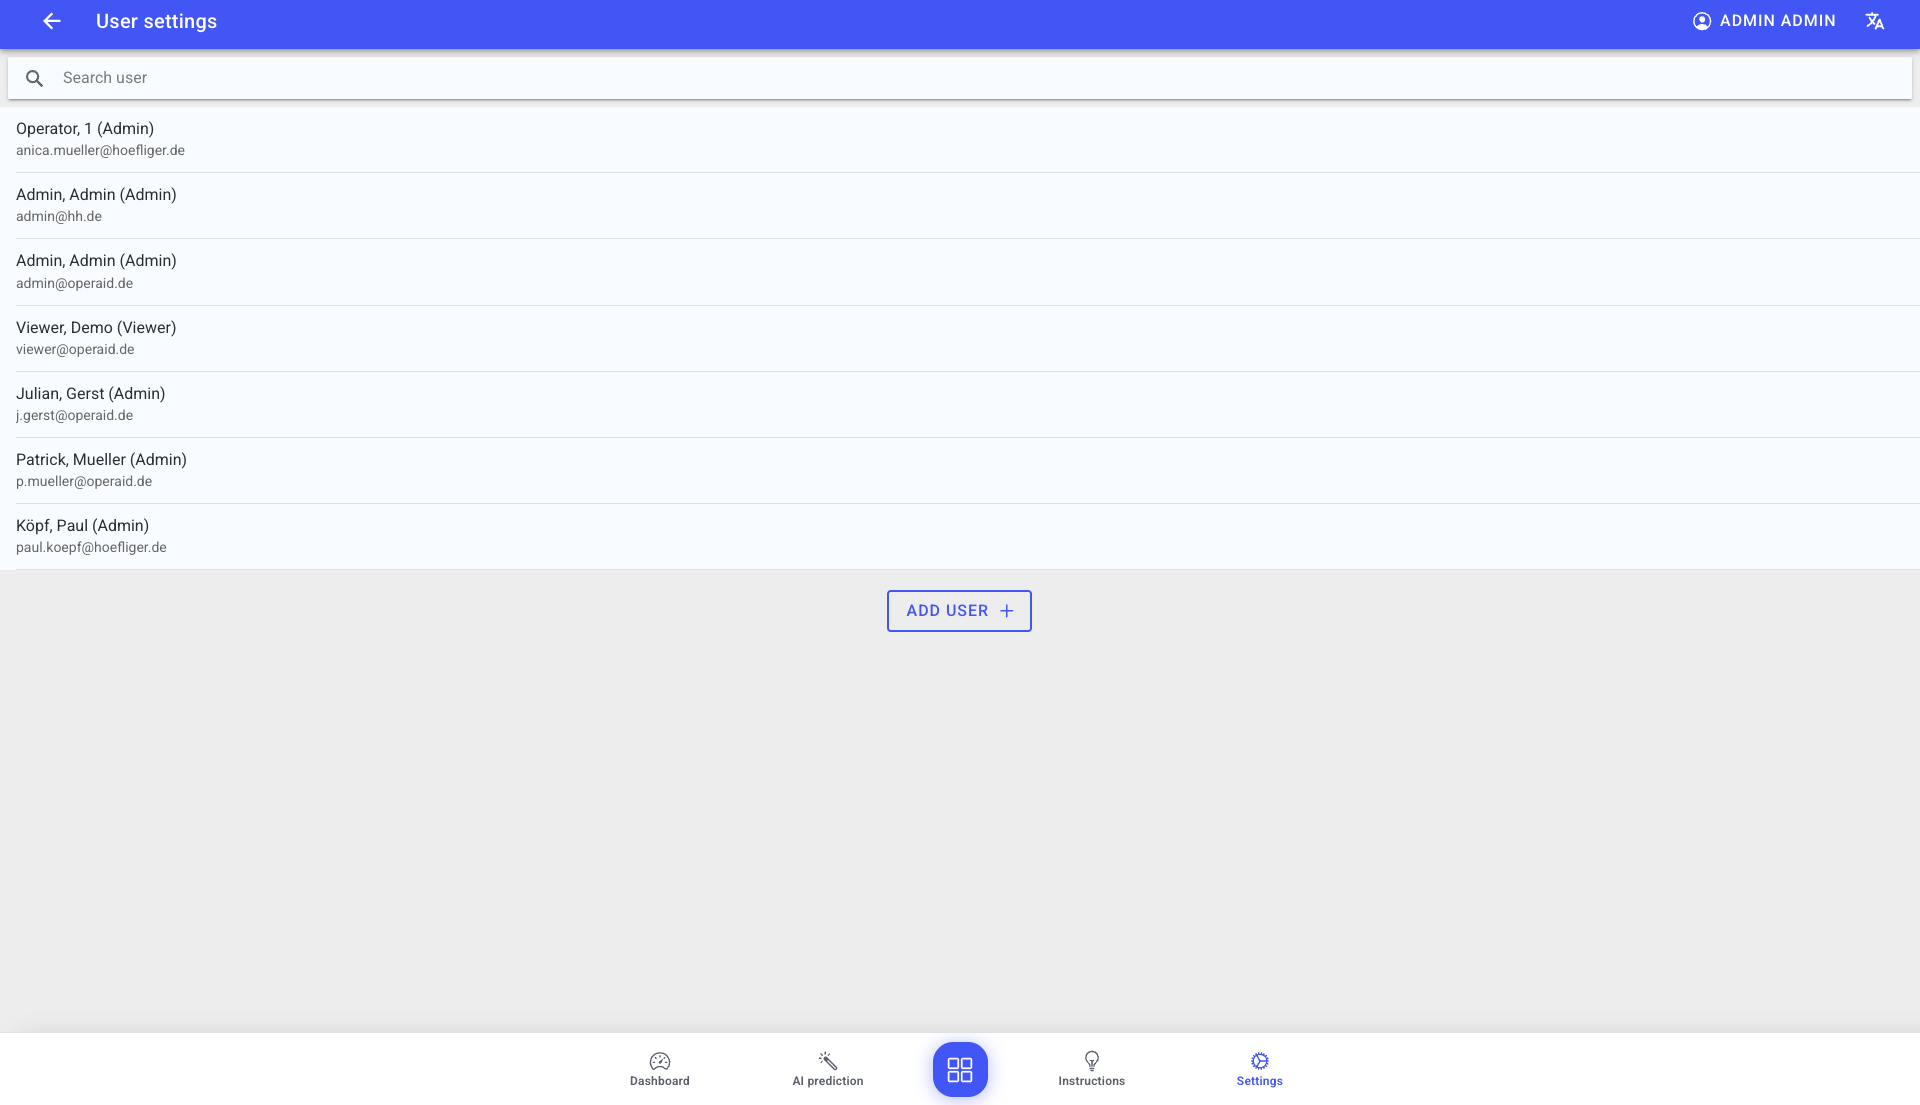
- A user list with search by name or email.
- Each user typically shows an email and assigned role.
- An Add user button (if you have permission).
Notes and constraints
- The email address uniquely identifies the user and typically cannot be changed after creation.
- The user's language preference overrides the default language set in General App Settings.
- Roles are assigned here, but roles themselves are configured in User Role Settings.
- When creating a user, or when changing a password, the password must meet the current policy:
- 8 to 100 characters
- at least one uppercase letter
- at least one lowercase letter
- at least one number
- at least one special character
Best practices
- Assign the minimum role required for the user's job.
- Use personal accounts instead of shared credentials whenever possible.
- Review roles regularly (for example after organizational changes).
Troubleshooting
- You cannot add/edit users -> Missing permission -> Ask an admin to update your role -> Contact support if role settings are unclear
- A user's UI language is unexpected -> Profile language overrides default language -> Update the user's language preference -> Escalate if the language list is incomplete