Change Time Range
Purpose
Set the correct time window so charts and KPIs reflect the period you want to review (for example the current shift, today, or the last 24 hours).
Steps
- Open App > Dashboard.
- Open the Time period selector.
- Select a preset range (for example "Last hour" or "Today"), or set a custom range (if available).
- Confirm charts and widgets update.
Menu path example: Dashboard > Time period > Select
What users see
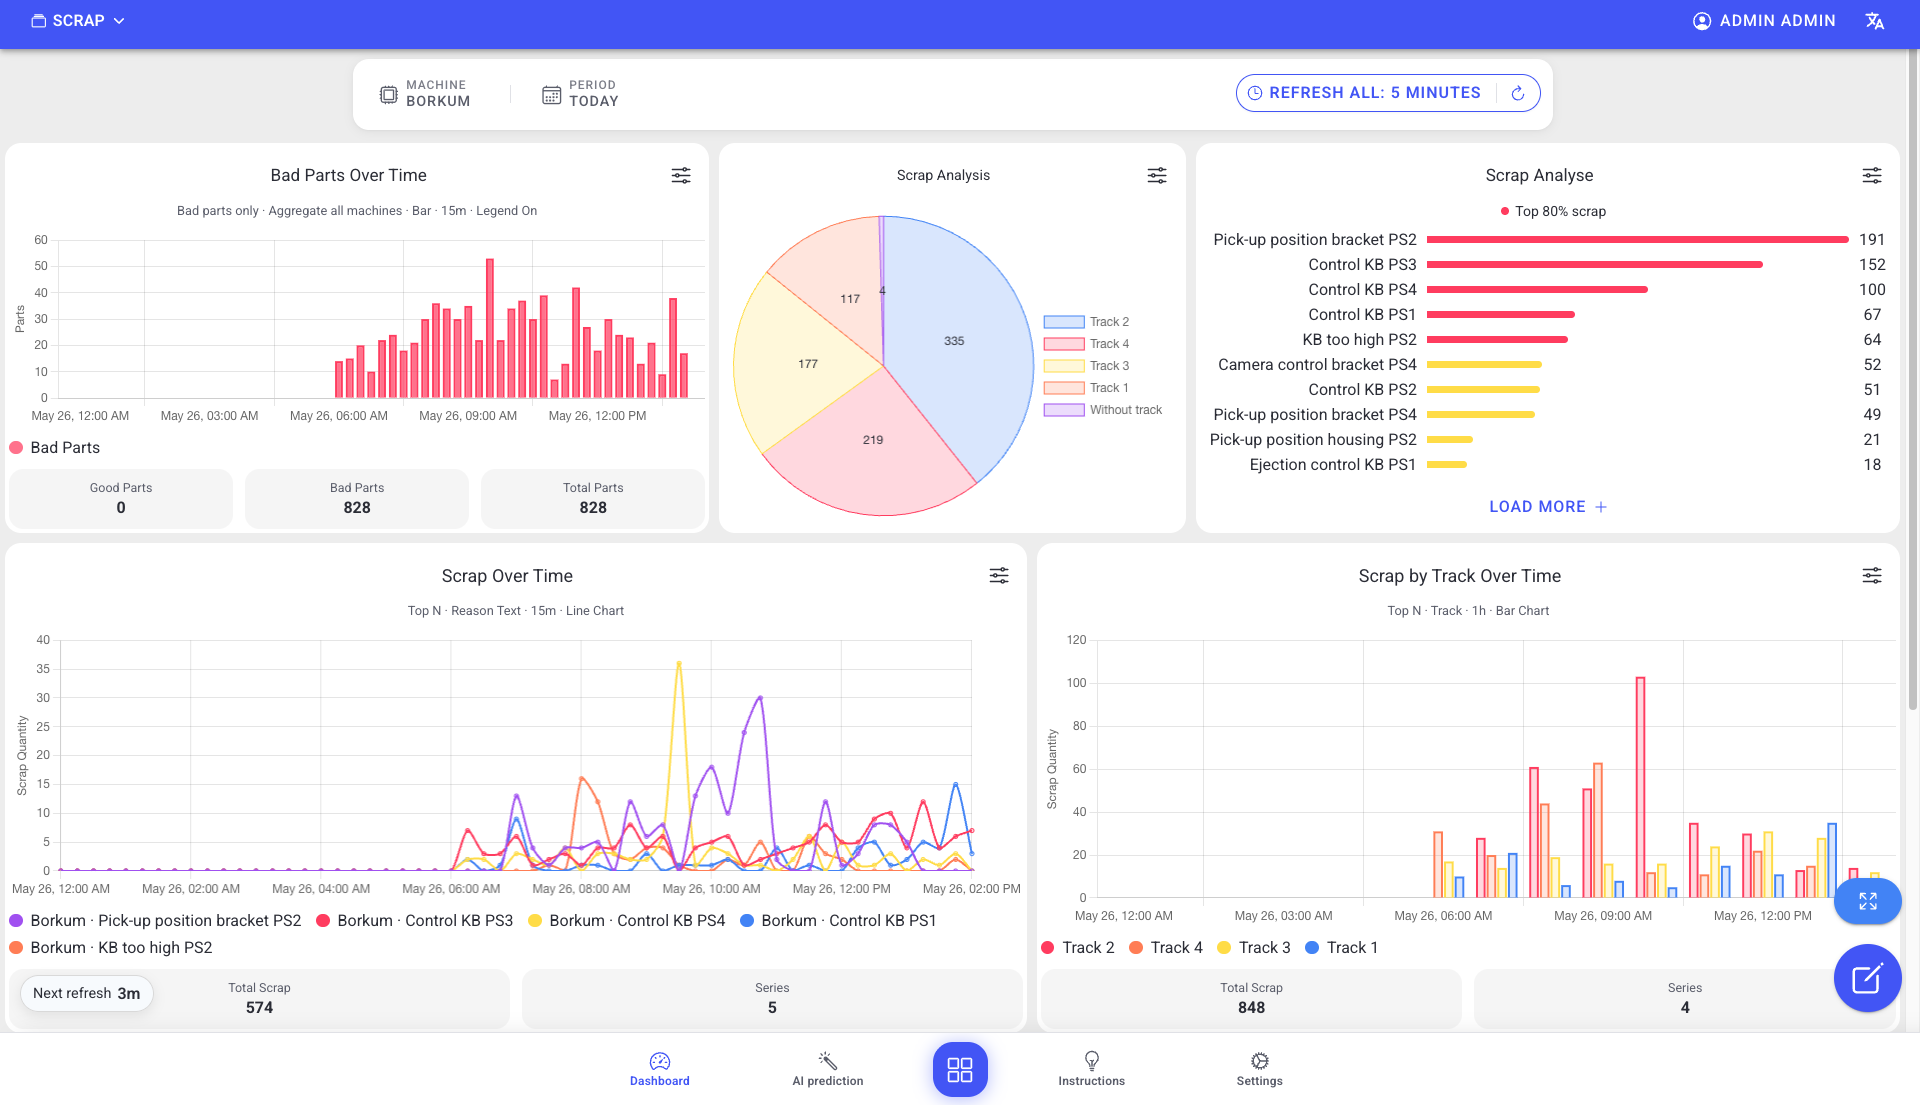
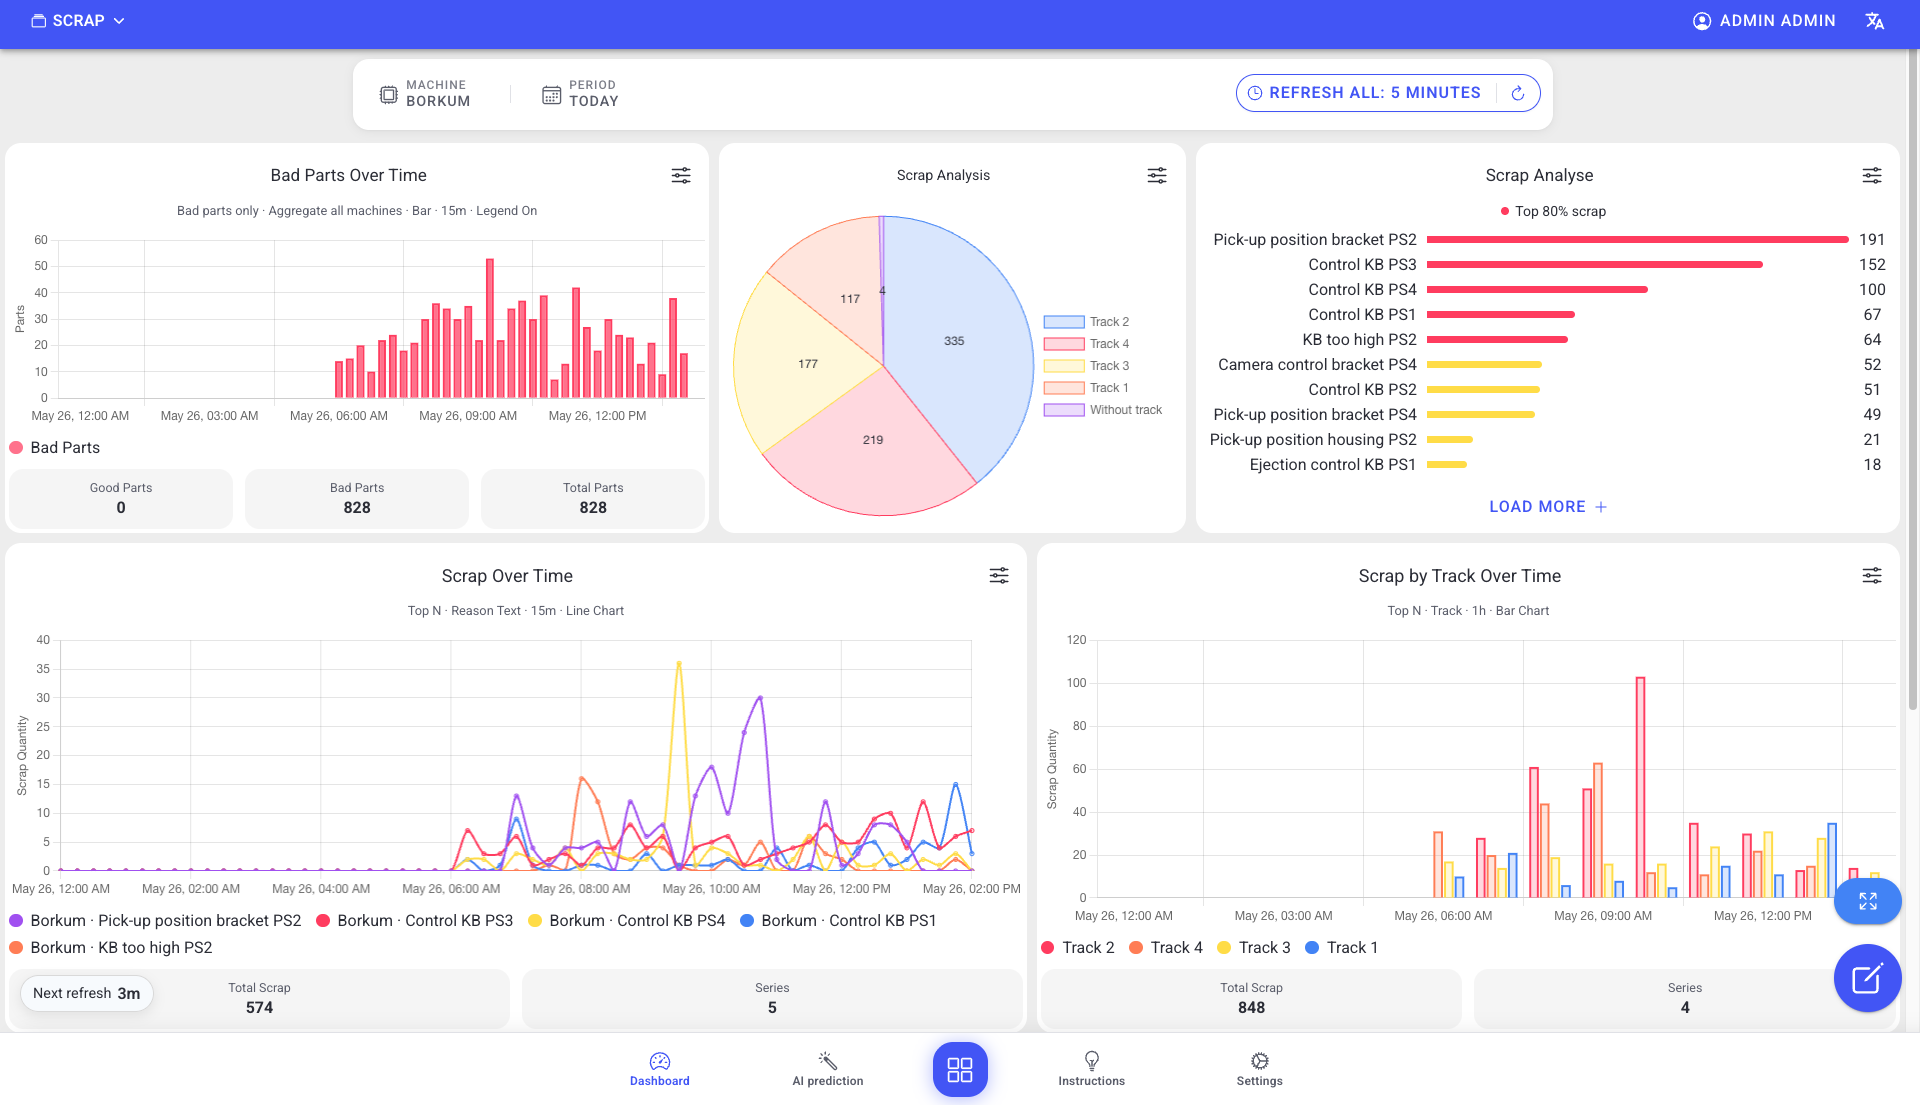
- A time range control (preset buttons, dropdown, or a date/time picker).
- A refresh indicator or updated timestamps on widgets.
Note: some live widgets ignore the selected time range and always show real-time data.
Best practices
- For troubleshooting, start with a shorter window to reduce noise, then expand.
- If your site runs multiple time zones, confirm which time zone the UI uses.
Troubleshooting
- Data looks correct for the wrong time -> Time range set incorrectly -> Re-check the selected period and apply again -> Escalate with a screenshot of the selected time range if needed
- Widgets do not update -> Refresh paused or connectivity issue -> Refresh once manually and reload -> If the issue persists, follow Troubleshooting > Connectivity